

Our guide to repotting your plants
Spring is finally approaching and we’re looking forward to welcoming the warmer and longer days ahead! The change in temperature marks the beginning of the “growing season” when our favourite indoor plants begin to wake up from winter and are primed to flourish again in the summer months. This means it is once again time to change up our plant care routines and start thinking about repotting.
Whether you are a new plant parent or seasoned expert, we know that repotting can be daunting. We’re here to help and we have compiled all of our top tips and tricks here to ensure repotting success!
How do I know when it’s time to repot my houseplants?
Typically, a sign that your plant needs repotted is when the roots begin to grow out of the drainage holes at the base of the pot. You can also check by gently removing the plant (including soil) from its plastic pot. If you notice the roots are densely spiralling at the base of the soil, this means the plant has used up all of its growing room and is ready for the next pot size up!
Certain plants don’t mind being a little root bound, such as Zamioculcas zamifolia and Sansevieria, so ignore the above and look out for warped or split nursery pots as a sign to repot.
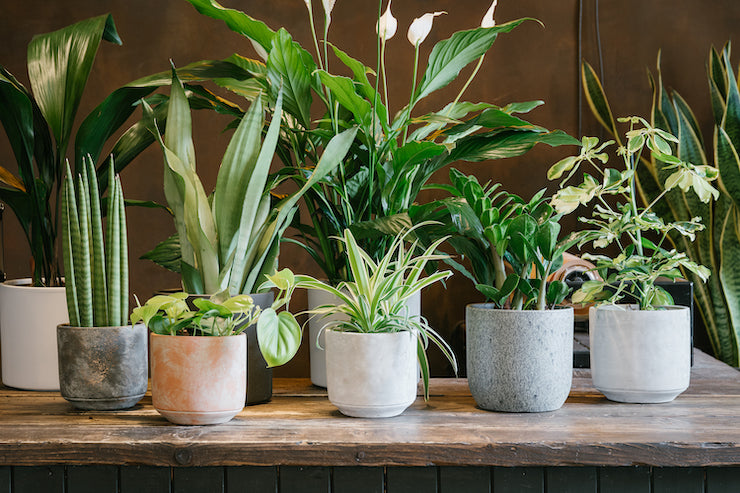
Things you need to repot your indoor plants
Repotting is so simple that you only really need two ingredients to ensure success:
Compost
It’s important to choose the right compost for your plant as different plant types have differing soil requirements. Most foliage plants are happy in a general houseplant compost like Houseplant Focus, whilst succulents prefer a more free-draining Cacti and Succulent potting mix. Air circulation, water retention and drainage are all key to houseplant care and determined by compost quality.
At grow urban we are lucky enough to stock Soil Ninja compost and soil components. Soil Ninja offers Base Mix which is a blend of coco coir, perlite and worm castings and is designed as the perfect base for all houseplants. Simply add in components such as sand, bark or activated charcoal to create the perfect blend for your plantae pals! Don’t know where to start? Our Plant Gurus are on hand to advise on specific blends for varying plant varieties be it Calathea, Philodendron and even terrarium compost.
A nursery pot with drainage hole
Choose a pot around 2cm to 5cm wider in diameter and ensure that it has drainage holes. We recommend plastic growing pots which can then be easily placed inside decorative pots. For something a little fancier, Bergs Potter pots can be planted directly into due to having a hole in the base.
If reusing an old pot make sure to properly clean it before use with warm water and soap.
Are you an orchid owner? Why not try our Growth Technology Orchid Repotting Kit complete with soil, clear pot, feed and full step by step repotting guide?
How to Repot
- Carefully remove the plant and soil from the original pot
- Gently tease out the roots to loosen them
- Place a layer of compost on the base of the new pot
- Place your plant into the new pot. It should sit about 1cm below the rim to allow space for watering (if using a terracotta pot make sure to wet the new pot before popping your plant in so that it does not absorb the moisture intended for the plant)
- Gradually fill in the sides around the plants root system with new compost until level with the base of the stem
- Give your plant a water, making sure to fully saturate the soil
Things to remember
Choose the correct pot size
- Repotting into too large a pot will result in your plant putting all of its energy into root growth rather than growing the star of the show, its foliage. It can also cause root rot due to a large volume of wet compost surrounding the current roots
Choose the right compost
- Compost mixes have different blends to ensure plants maintain the correct water supply from the mix and ensure it receives sufficient levels of the appropriate nutrients. The right compost will keep the roots systems healthy and leaves happy!
Repot at the right time of year
- It’s best to avoid repotting during autumn and winter as exposing the roots to cooler temperatures can shock the plant and result in stunted future growth.
Don’t feed the plants after repotting
- Repotting our houseplants not only gives them more room to grow, but also replaces nutrients in the soil. You won’t need to feed your plant for at least 4 weeks after repotting.
- After this period, plants can continue to be fed during spring and summer. Our current favourite feeds are Liquid Gold Leaf and Hungry Plants?. ‘Liquid Gold Leaf’ is one of the UK's most sought after feeds and is a fully soluble liquid fertiliser which contains every essential plant nutrient.
- The frequency of feeding depends on the plant species. Some like to be fertilised once a week whilst others only need to be fed twice during the growing season. We always recommend searching online for further information to avoid over fertilising your plantae friends!
Rarely repot a Bromeliad
- Bromeliad plants, which include Pineapples, are epiphytes. This means they grow on the sides of trees or other structures so don’t need a huge amount of space to grow. Bromeliads put their energy into growing pups rather than growing the plant itself. In fact, each plant will only flower once in its lifetime. Once their blooms have died back, repot the pup and discard the mother plant.
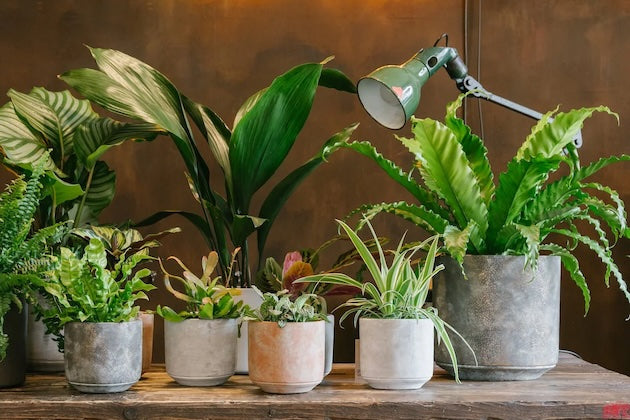
Repotting is essential, and such a simple way to keep your plants happy. Follow these tips and watch your tabletop plant grow into a beautifully established floor plant as you continue to pot up over the years.