Article: When to Repot Indoor Plants in Spring: A UK Guide for 2026

When to Repot Indoor Plants in Spring: A UK Guide for 2026
Spring is the best time to repot indoor plants in the UK. As light levels increase and temperatures slowly rise, most houseplants move into active growth, which makes it far easier for them to settle into fresh compost and a slightly larger pot.
If you are wondering whether your plant needs repotting or whether you are just in a spring-cleaning mood, this practical guide explains exactly when to repot, how to choose the right pot size and how to water properly afterwards. Consider this your Repotting Guide for 2026, written for real homes, real UK light levels and real people who would rather not find compost in their bed.
Do you actually need to repot, or are you just in a mood?
Repotting is not a yearly ritual for every plant. Many houseplants are happier with a refresh every couple of years, not a new pot every time you have a free Sunday. If your plant is growing well and the compost still drains nicely, you might only need a top up of feeding and better watering habits.
Here are the best signs it is time:
- Roots coming out of drainage holes or circling the bottom
- The plant dries out very quickly after watering
- Water runs straight through or the compost has become hard and compacted
- The nursery pot looks bulged or cracked
- The plant is stable but growth has slowed for no obvious reason
If you are unsure, a moisture check is often more useful than a guess. Willy the Worm is brilliant for anyone who waters “just in case”, which is the most dangerous phrase in plant care.
The golden rule: do not overpot
The most common repotting mistake is going too big too soon. More compost means more moisture hanging around the roots, especially in UK homes where spring can still be cool and slow drying. That is how you end up with a sad plant and a lot of regret.
Size up by only 2.5 to 5 cm in diameter. Think of it as a sensible upgrade, not a penthouse suite.
Fun fact: a small jump in pot size can add a surprising amount of compost volume, which can hold a lot more water than you expect. That is why “just one size up” is such a good rule.
What you need for a proper repotting session
You do not need a shed full of kit. You do need the right basics so the job is quick, clean and the plant actually benefits.
- Indoor Plant Compost for a fresh start
- Growing pots with drainage holes
- A decorative outer pot so you can lift the plant out easily: indoor plant pots
- A compost scoop that stops mess becoming your personality: Burgon & Ball compost scoop
- Terracotta with drainage for direct potting, especially if you love a classic look: Bergs Potter
- A watering can you will actually use all spring and summer: watering cans
- Plant food for the growing season: Liquid Gold Leaf
If you want the quick shopping version, start here: Indoor Plant Care.
How to repot indoor plants, step by step
1) Pick your timing
Choose a day when the plant is not bone dry and not freshly drenched. Slightly damp compost slides out more easily and is kinder on roots.
2) Slide the plant out and inspect the roots
Tip the pot on its side, support the plant at the base, then ease it out. Healthy roots are usually pale and firm. A tight spiral or a dense mat at the bottom means it is ready.
3) Loosen gently
Tease the outer roots a little so they are encouraged to explore the new compost. No need for violence. You are not trying to win a fight, you are trying to help a plant settle.
4) Add fresh compost and place at the same height
Add a layer of Indoor Plant Compost, position the plant so it sits at the same depth as before, then fill around the sides. Firm lightly with your fingers so the plant is stable, not compacted.
5) Water once to settle, then pause
After repotting, water thoroughly once to settle the compost around the roots. Then let it dry a bit before watering again. Fresh compost holds moisture differently and roots can take a week or two to properly re engage.
Watering after repotting, the spring rule that saves plants
Repotting changes everything about watering. That plant that used to dry out in four days might now stay damp for much longer because the compost is fresh and the pot is bigger.
Use this simple spring approach:
- First watering: water in once after repotting
- Next watering: only when the compost has dried to your plant’s usual preference
Do not water to a schedule. Check instead. Feel the compost a couple of centimetres down, lift the pot to judge weight and if you want an easy visual cue, use Willy the Worm.
Quirky but true: in spring, the top of the compost can look dry while the bottom is still damp. That is how overwatering happens in perfectly nice homes with perfectly nice people.
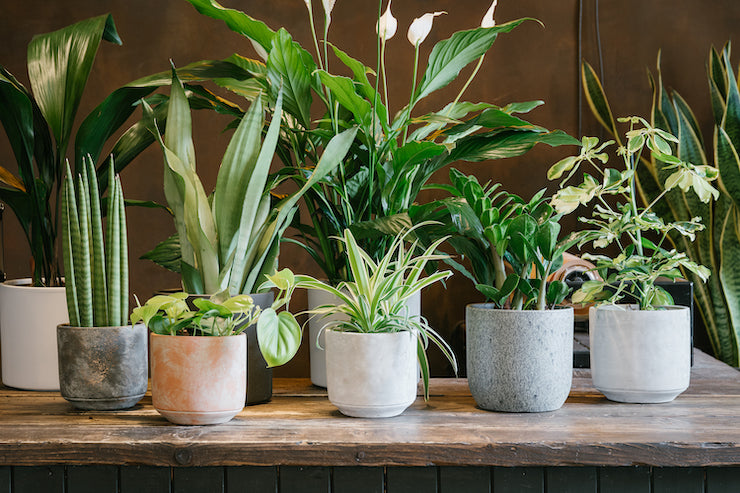
Two repotting styles, choose your vibe
Option A: Nursery pot + decorative pot
This is the easiest, cleanest method for most households. Repot into a growing pot with drainage holes, then place it into a decorative outer pot from our indoor plant pots collection.
Why it is brilliant: you can lift the inner pot out to check roots, water in the sink, let it drain properly and avoid water collecting at the bottom.
Option B: Pot directly into terracotta with drainage
If you love the proper potted look, terracotta is a classic and can be especially helpful for plants that prefer to dry a little more between waterings. Explore Bergs Potter for terracotta pots with drainage holes that look gorgeous in any room.
Good to know: terracotta can dry faster in warm weather, so watering may need adjusting once spring turns into actual summer.
Feeding in spring, yes, but not immediately
Repotting gives your plant fresh compost and that often contains plenty of nutrients to start with. If you are using a rich indoor mix, wait a couple of weeks before feeding so the plant can settle first.
Then feed through spring and summer with something reliable and easy like Liquid Gold Leaf. Your future self will notice the difference.
Common repotting mistakes, gently roasted
“I went up two sizes so I do not have to do it again”
This is how you create a compost swamp. One size up is nearly always enough.
“I repotted and then watered every few days because it looked thirsty”
Fresh compost fools people. Check below the surface and remember the roots need air as much as they need water.
“I used old compost from the cupboard”
Old compost tends to compact and lose structure, which reduces airflow around roots. Fresh compost is one of the biggest upgrades you can give a plant in spring.
Your spring repotting checklist
- Repot in spring when plants are waking up and ready to grow
- Only go one size up, around 2.5 to 5 cm wider
- Use fresh compost: Indoor Plant Compost
- Water once to settle, then pause and check moisture properly
- Feed after settling in: Liquid Gold Leaf
- Make the job easier with the right kit: Indoor Plant Care
Ready to repot?
Start with our Indoor Plant Care collection, choose a pot you genuinely love and enjoy the oddly satisfying feeling of giving your plants a fresh start.